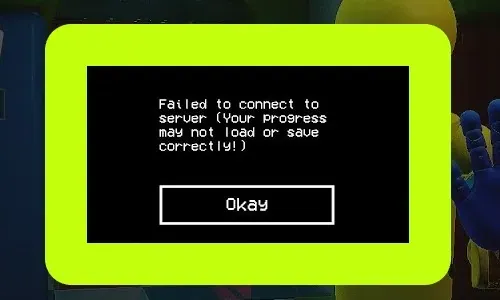
To do that, visit Project: Playtime's official Twitter account, then see if there are any messages about server issues or system maintenance. If the servers are good, then restart your computer, Router & Modem. To restart the router, unplug the modem and router from the power outlet. Wait at least 15 seconds. Plug the modem back into the power outlet first, wait 1-2 minutes, then it’s time to power on the router. Wait for all panel lights on your cable modem to become green on, then relaunching Project Playtime to check whether the issue has been fixed.
If you still can't connect to Project Playtime's server, then try disable IPv6. To do that, on your keyboard, press the Windows key + R then type ncpa.cpl and hit Enter. Right-click on your internet connection and pick Properties. Uncheck on Internet Protocol Version 6 (TCP/IPv6). Click Ok. Now, relaunching Project Playtime and check if the connect issue is resolved.
If after disable IPv6 the error still appears then try using Google DNS. One more time, press the Windows key + R then type ncpa.cpl and hit Enter. Right-click on your internet connection and pick Properties. Double-click on Internet Protocol Version 4 (TCP/IPv4). Select Use the following DNS server addresses option then type 8 8 8 8 and 8 8 4 4. Now, tick on Validate settings upon exit. Click Ok. Click Ok. Once done, relaunching Project Playtime and see if the problem is fixed.
The next method is Flush DNS Press the windows key then type cmd. Right-click on Command Prompt and pick Run as administrator. Now, type ipconfig /flushdns and press Enter. type ipconfig /registerdns and press Enter. type ipconfig /release and press Enter. type ipconfig /renew and press Enter. type netsh winsock reset and press Enter. type netsh int ip reset and press Enter. At last, restart your pc and check if the Fetching Data issue is resolved.
The next method is to verify the integrity of game files. Open Steam then navigates to Library. Right-click on Project Playtime then select Properties. Select LOCAL FILES. Select verify the integrity of game files. Once done, try relaunching Project Playtime and see if the problem is fixed. That's it, guys. That's all we can do.


0 Comentarios